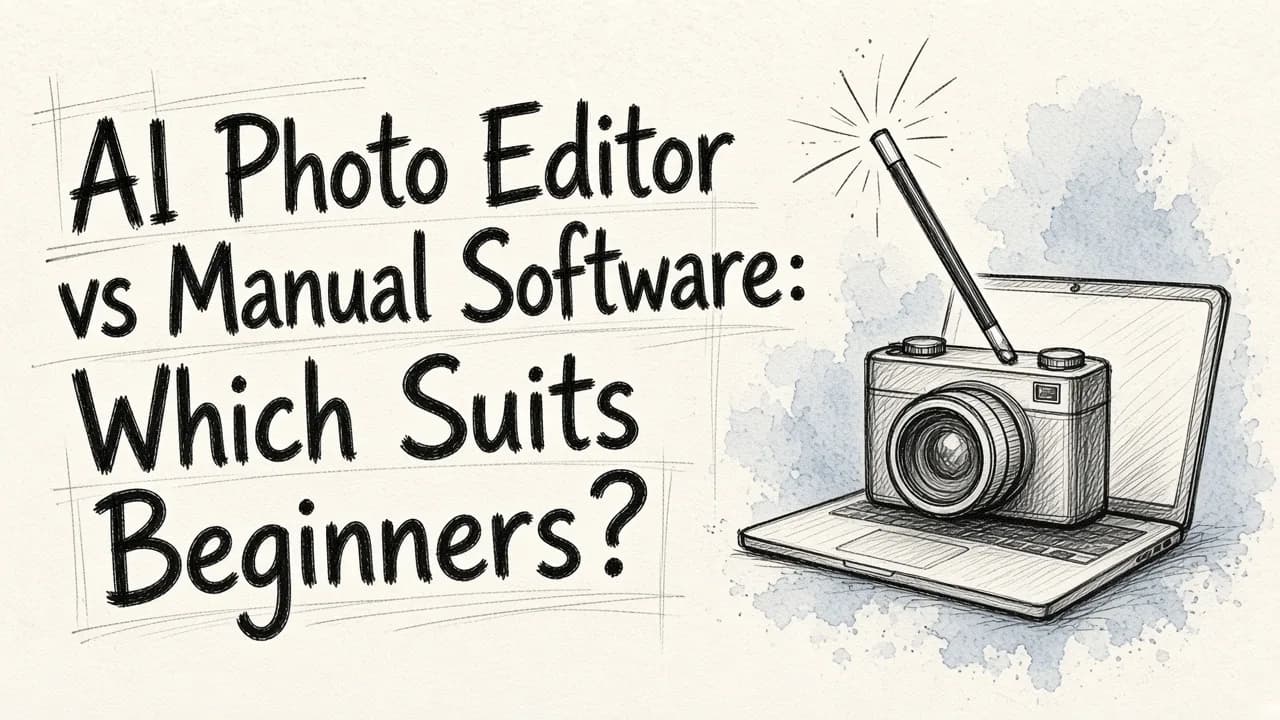
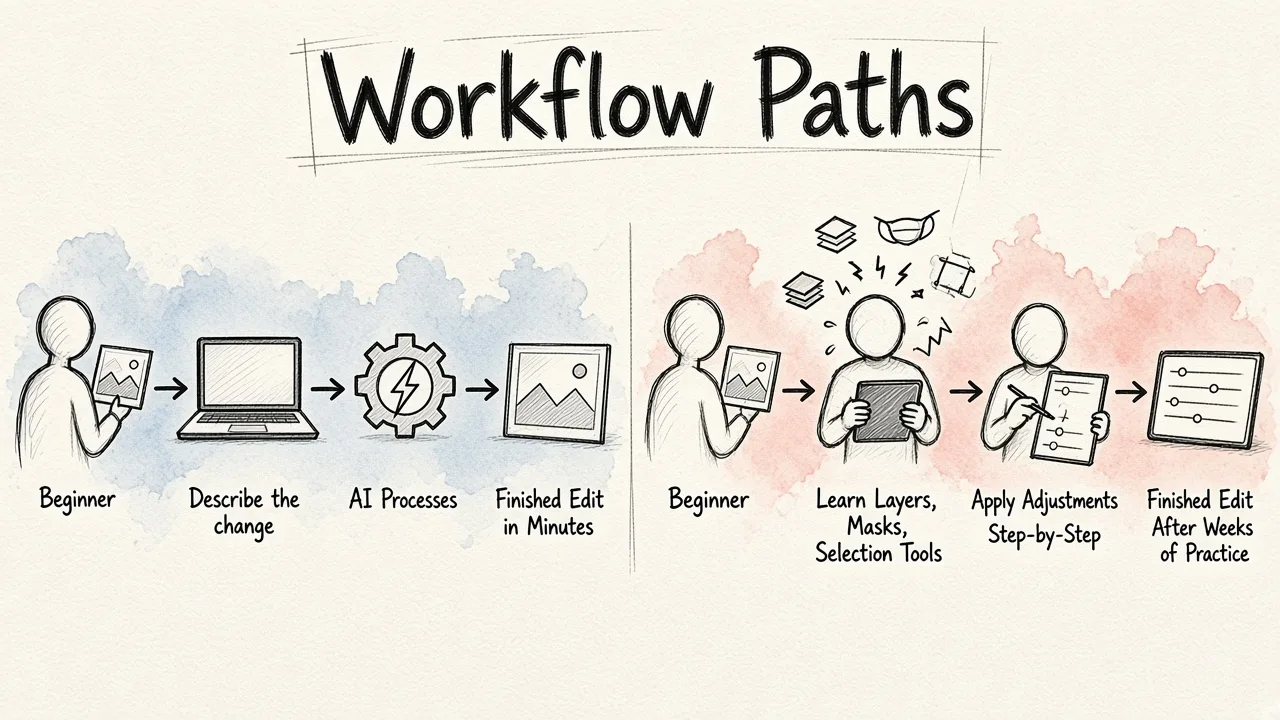
For most beginners, yes: an AI photo editor is the better starting point, and a tool like EditorAI is the easiest on-ramp because you describe the change you want in plain language ("remove the person in the background", "replace the grey sky") instead of learning layers, masks and the clone stamp first. Manual software like Photoshop or Lightroom still wins when you need pixel-level control or a very specific look, but that control costs weeks of practice. If your goal is a clean product shot, a tidy headshot or a usable listing photo this afternoon, AI gets you there faster with fewer ways to go wrong.
What beginners actually struggle with in manual software
Manual editing is not hard because the sliders are complicated. It is hard because the useful work happens in combinations: selecting a subject accurately, feathering the edge, building a mask, then adjusting only that masked area. Removing a stranger from the background of a photo in Photoshop means careful selection plus blending so the patched area still matches the surrounding texture and lighting.
Everything photographers do by hand is real craft. With time, patience and skill, a manual editor can correct perspective and colour, relight a shot and nail white balance. The problem for a beginner is that each of those is its own skill, and a half-learned version looks worse than no edit at all: crunchy halos around hair, grey skin, obvious patch marks.
That is the tradeoff summarised well in this comparison:
What an AI photo editor does differently
An AI photo editor collapses those multi-step operations into one instruction. The three jobs beginners need most often are also the three AI handles best:
- Background removal. Fine hair strands and transparent glass normally require slow manual masking. AI produces a clean cutout in seconds.
- Object removal. You paint over the photobomber or the watermark and the tool reconstructs the area from surrounding texture and lighting.
- Quality and resolution. Upscaling and sharpening that would take a stack of manual adjustments run automatically.
Generative fill is the other big one. Turning a vertical portrait into a horizontal banner used to mean recomposing by hand; AI reads the scene perspective and extends it.
The practical effect is on workflow, not just quality. In real estate photography, where listings traditionally go to a photographer and then to an outsourced editor, automated editing lets the agent handle it directly without the back-and-forth. Neither shooting-then-outsourcing nor hand-editing is fast or scalable; AI editing is both. We built our real estate workflow around exactly that, including virtual staging and sky replacement, because those are the two edits agents ask for and the two that are most painful by hand.
Where manual software still wins
Be honest about the limits. AI editors are strong at speed and volume but can lack a human editor's nuanced touch and creative freedom. Specifically:
- Signature looks. If you want a consistent, recognisable grade across a portfolio, manual tools give you curves, masks and presets you fully control.
- Fine retouching. Skin work, hair detail and subtle dodge-and-burn still reward hand editing.
- Accuracy-critical work. Anything where a generated pixel would be a misrepresentation needs manual methods.
- Stubborn edge cases. AI occasionally misreads a complex scene. Manual tools let you fix the result instead of re-prompting and hoping.
Most beginners will not hit these limits for months. When you do, the right move is not to abandon AI but to use it for the heavy lifting and clean up by hand.
A realistic comparison for beginners
| AI photo editor (e.g. EditorAI) | Manual software (Photoshop, Lightroom) | |
|---|---|---|
| Time to first usable edit | Minutes | Weeks of learning |
| Background and object removal | One instruction | Selection, masking, blending |
| Batch work | Built for volume | One file at a time |
| Creative control | Guided by prompts | Total |
| Fine retouching | Limited | Strongest option |
| Cost of entry | Often free tiers | Subscription plus training time |
Ranked honestly for a beginner: start with an AI editor, add a manual tool later if your work demands it. Starting the other way round is why so many people give up on editing entirely.
How to start this week
- Pick one photo and one problem. Not a full edit. Just "remove this object" or "brighten this".
- Use a free editor for the basics first. Brightness, contrast, crop and rotate do not need AI. A straightforward free photo editor that works in the browser handles those without touching your file privacy.
- Bring AI in for the hard parts. Backgrounds, object removal, sky swaps, upscaling.
- Compare against the original every time. Beginners overcook edits. Toggling before/after is the fastest way to build taste.
- Save what works. Note the prompts that produced good results so you can reuse them.
Food and product shots are a good training ground because the brief is clear: a phone snap of a dish needs better light, a cleaner background and a believable plate, and you can judge the result against any menu photo.
If you want a sense of how the current crop of platforms differ before committing, this overview is a useful starting point:
The short answer
An AI photo editor suits beginners better because it removes the learning curve from the edits beginners need most, and it removes it without lowering quality on those specific tasks. Manual software is not obsolete; it is the next step, not the first one. Learn to see what a photo needs using AI, then pick up manual tools when you have a reason to.