You can automate professional product photos by shooting once in a simple, consistent setup and letting an AI editor handle the repetitive work: background removal, shadow rebuilding, color correction, resizing, and variant generation. The fastest path for most sellers is a tool like EditorAI, where you describe the edit in plain language ("place this on a white studio backdrop with a soft shadow") and apply it across an entire batch instead of retouching each frame by hand. That single change is what turns a two-day photo shoot into a two-hour afternoon.
The rest of this guide covers how to build that pipeline: what to standardize before you shoot, which steps actually automate well, which ones still need a human eye, and how to keep the output consistent as your catalog grows.
Why manual product photography breaks at scale
A single product is easy. Twenty products with three angles each is 60 images, and every one of them needs the same background, the same crop ratio, the same shadow direction, and the same brightness. Do that by hand and two things happen. First, it takes hours. Second, the images drift. Image 4 has a slightly warmer white than image 47, and on a category page that inconsistency reads as "amateur" even to shoppers who cannot name what is wrong.
Outsourcing solves consistency but introduces cost and latency. You send a batch, you wait, you review, you send corrections. For a store adding new SKUs weekly, that loop is the bottleneck. We broke down what those services actually charge in our look at the real cost of virtual product photography services, and the math rarely favors outsourcing once your volume passes a few dozen images a month.
Automation fixes both problems at once, but only if you set it up properly. Feeding chaotic source photos into any AI tool produces chaotic output faster.
Step 1: Standardize the capture, not just the edit
The single highest-leverage thing you can do is make your raw photos boring and identical. Automation loves predictability.
Build a repeatable capture setup and do not change it:
- One surface. A seamless sheet of white or light gray paper, or a plain table you always use. The background will be replaced anyway, but a clean edge makes subject detection far more accurate.
- One light source. A window with diffused daylight or a single softbox to the side. Avoid mixing daylight and overhead room lights, since the mixed color temperature is what makes batch color correction produce weird casts.
- One camera position. Mark the tripod legs with tape. Keep the same distance and height for every product in a category.
- One set of angles. Decide your standard, for example front, three-quarter, and detail crop, then shoot every SKU the same way. Now your batches are structurally identical and every automated step applies cleanly.
- Shoot slightly wider than you need. Extra margin gives you room to crop to multiple aspect ratios later without cutting into the product.
A phone camera is completely adequate here. The limiting factor in product photography is lighting and consistency, not sensor size. If you want a deeper walkthrough of the physical setup, we covered it in our guide to creating studio quality product shots at home.
Step 2: Automate the edits that are genuinely repetitive
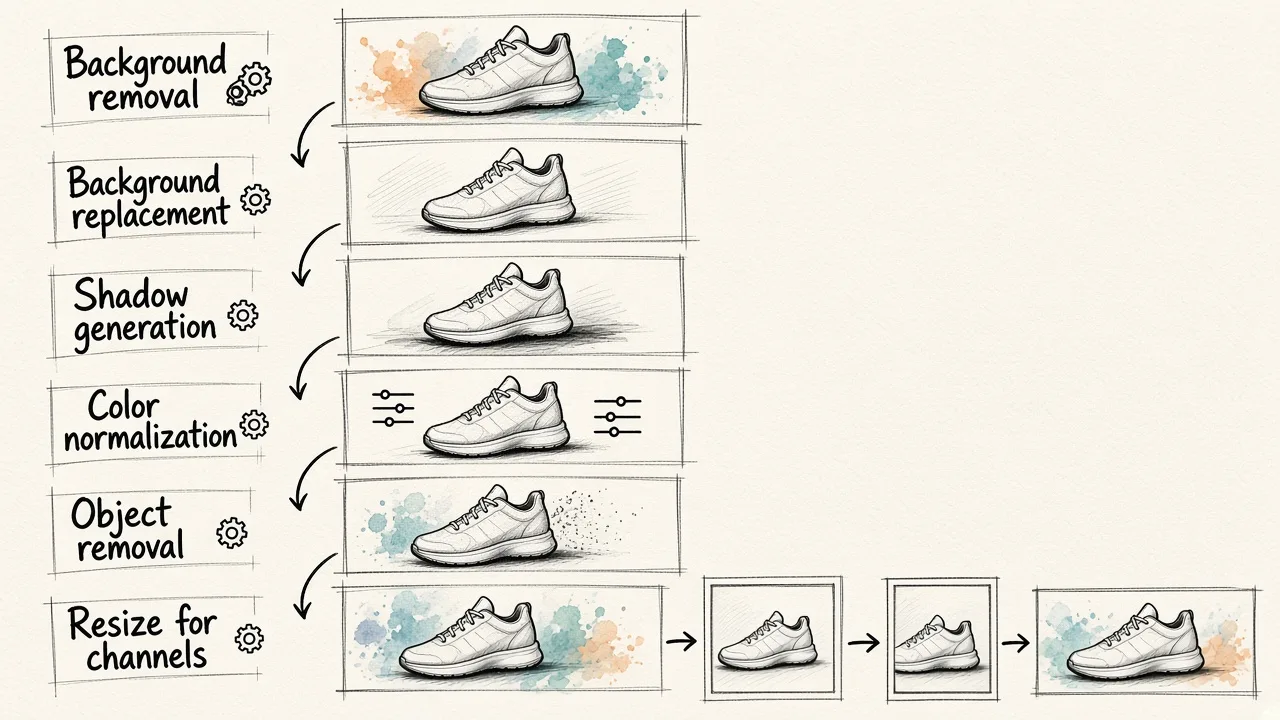
Once your source files are consistent, these steps can run with little or no per-image attention.
Background removal. This is the foundation of everything else. Modern AI cutouts handle hard edges well and have gotten reliable on medium-difficulty subjects like fabric folds and shoe laces. Hair, mesh, glass, and transparent packaging still deserve a manual check.
Background replacement. Rather than just knocking out the background, describe the scene you want. A clean studio sweep, a marble surface, a soft gradient, or a lifestyle context. Doing this with text means you can change your entire catalog's look later by changing one prompt instead of reshooting.
Shadow and reflection generation. A cutout with no shadow looks pasted on. Generating a grounded contact shadow is what makes the product sit in the frame. This is one of the clearest quality dividers between a rushed edit and a professional one.
Color and exposure normalization. Match white balance and brightness across the batch so your category grid reads as one shoot.
Object and blemish removal. Dust, price stickers, stray cables, a reflected phone in a glossy surface. Object removal handles these in seconds each, where the clone-stamp equivalent takes minutes.
Resizing and cropping. Every channel wants something different. Square for marketplace listings, portrait for Reels and Stories, wide for a homepage banner. Generate these from one master file rather than reshooting for each.
Step 3: See what the automated result actually looks like
The practical question is whether an automated edit holds up next to a real studio shot. Here is an ordinary sneaker photo taken against a plain surface, and the same file after an AI edit placed it on a studio backdrop with a generated shadow.
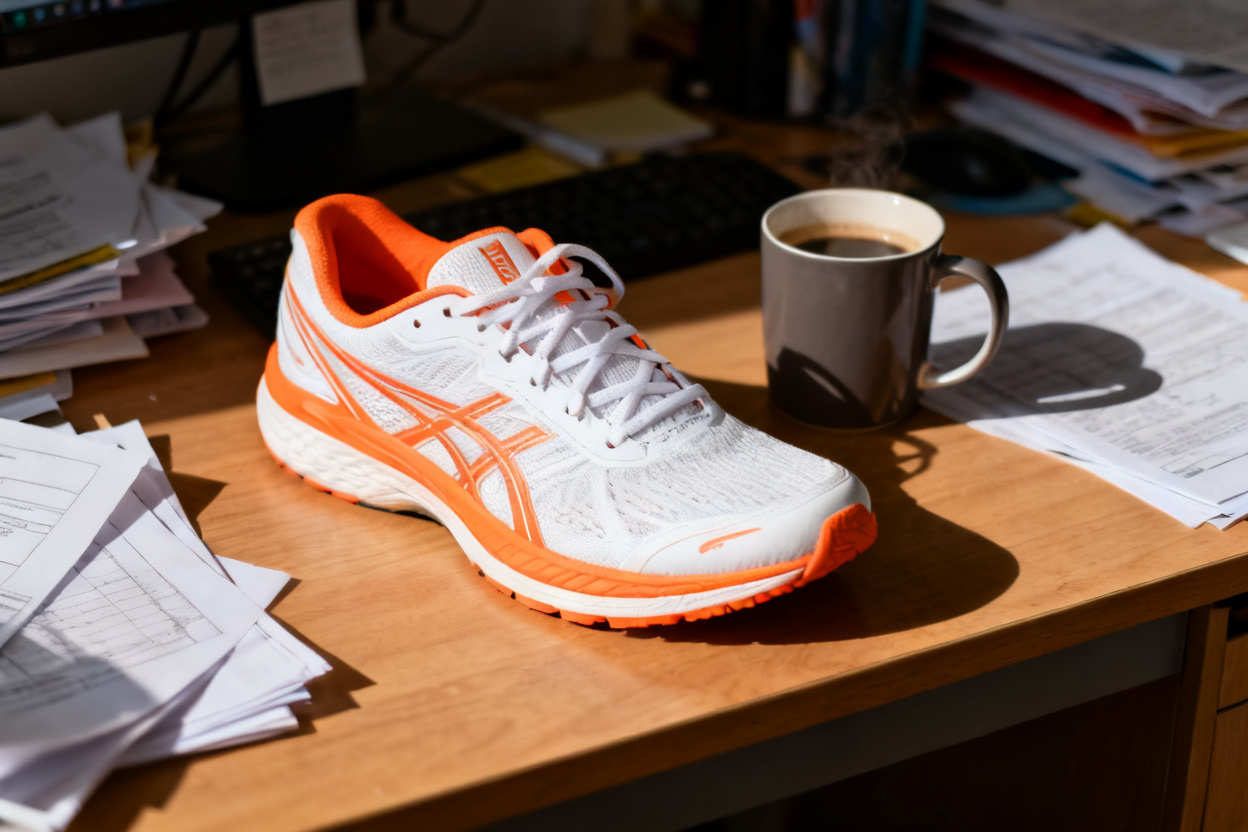
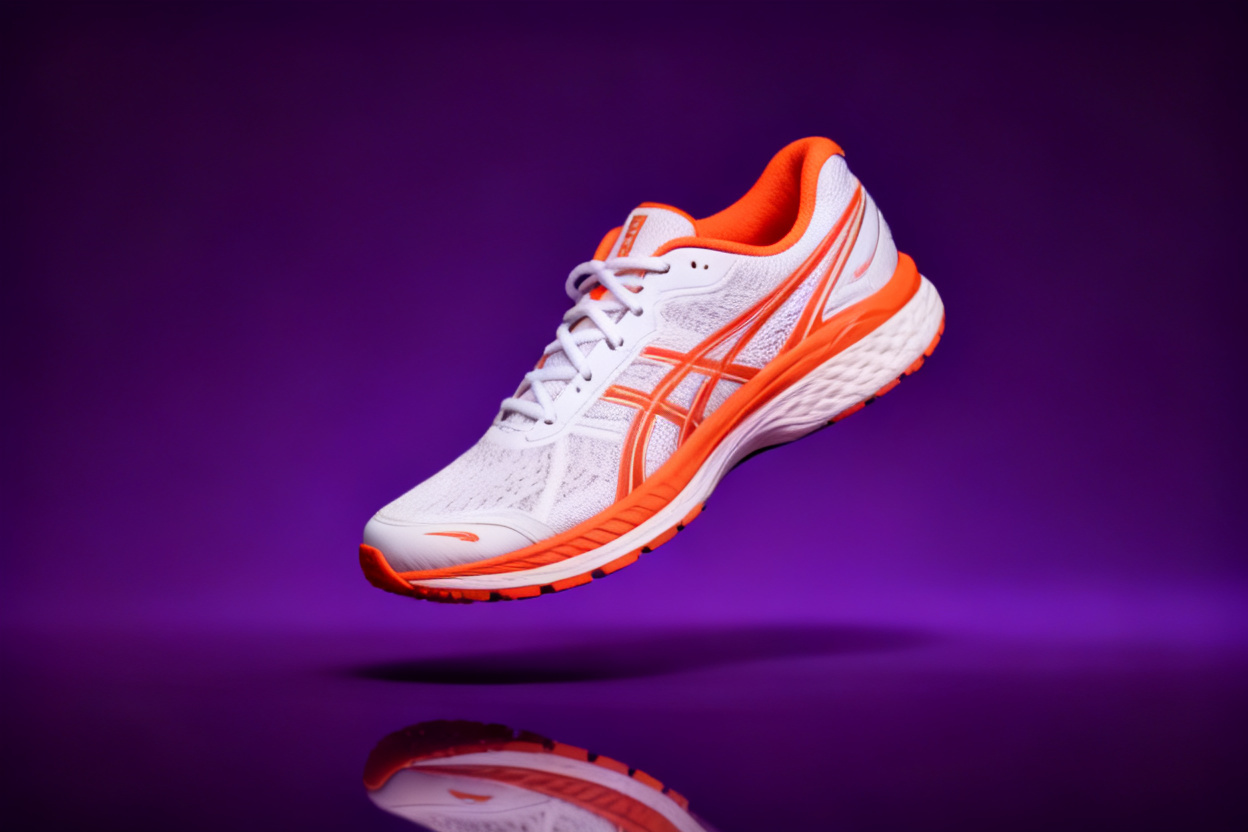
The edit that produced this was a text instruction, not a layer stack. That matters for automation because a text instruction is reusable. Save the phrasing that worked, apply it to the next 40 products, and the output stays consistent because the instruction did not change. This is where EditorAI's approach differs from traditional editors: you are describing an outcome rather than executing a sequence of manual operations, which is what makes the step repeatable across a batch.
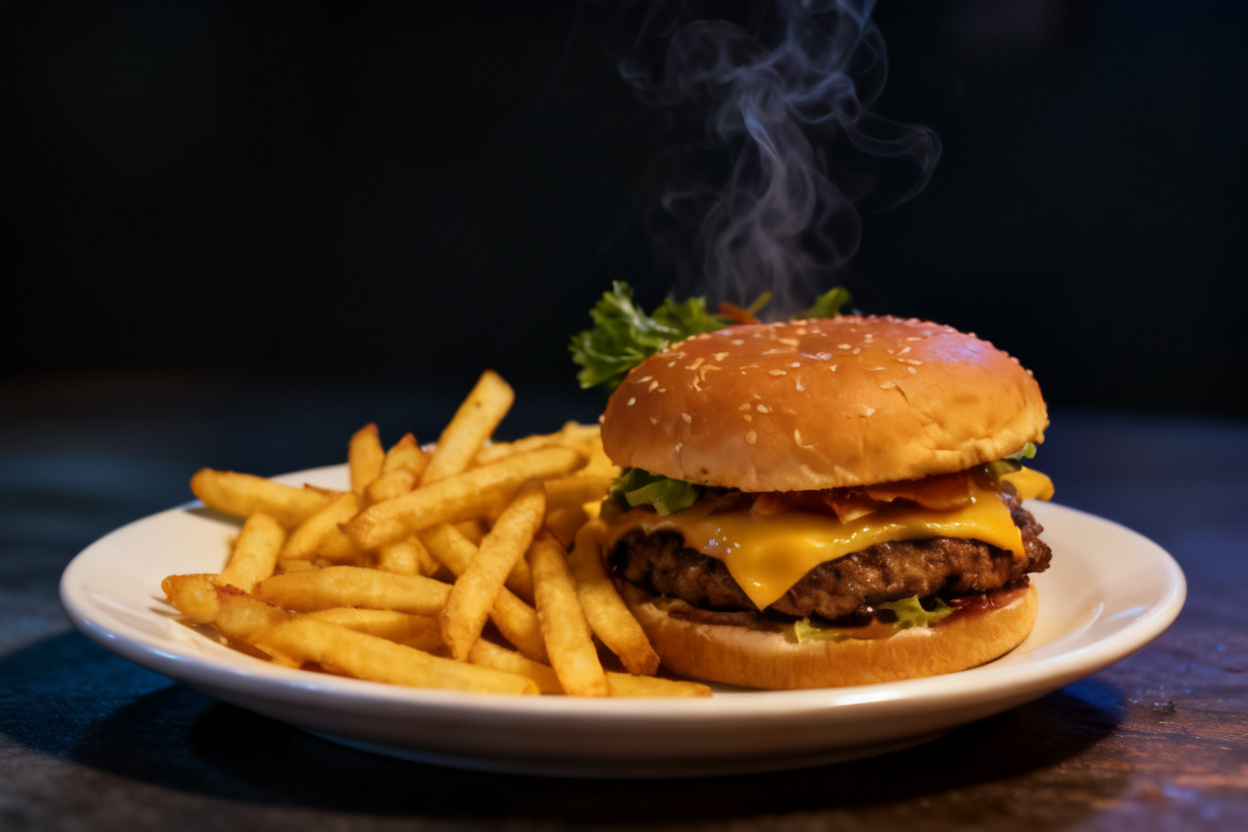
The same pattern works outside apparel. Food photography, for example, follows exactly the same logic: an ordinary phone shot of a burger, a described lighting and surface treatment, and a usable menu or delivery-app image out the other side.
Step 4: Build a template system, not one-off edits
The difference between "I used an AI tool once" and "I automated my product photos" is templates.
Write down your standard edit as a reusable recipe. Something like: pure white background, soft shadow below the product at a 20 percent offset, product occupying 85 percent of frame height, square crop at 2000 by 2000 pixels. Then define a small number of variants off that master: the lifestyle version, the ad version with copy space, the vertical social version.
Now onboarding a new product is mechanical. Shoot the standard angles, run the standard recipe, spot check, publish. No creative decisions per SKU, which is exactly what makes it scale.
Name your files in a way that survives the process. SKU, angle, variant, in that order. When you have 600 images, the file naming convention is what stops the automation from becoming a mess.
Step 5: Keep a human quality gate
Automation should reduce work, not eliminate judgment. Review every batch for four things:
- Edge quality. Zoom to 100 percent on the cutout boundary. Look for halos, chewed corners, and missing thin details like straps or handles.
- Color accuracy. The product must match reality. A blue that drifted to purple causes returns, and returns cost more than the edit saved.
- Shadow direction. All shadows in a batch should fall the same way. Mismatched light direction in a grid is instantly noticeable.
- Invented detail. Generative tools occasionally add texture or reshape a logo. Anything that misrepresents the physical product has to go back.
A rough rule: budget about 10 seconds of review per image. On a 60-image batch that is 10 minutes, which is nothing against the hours you saved, and it is what keeps the quality claim honest. If you are curious how far the technology actually goes, we dug into it in our piece on whether AI can generate professional ecommerce images.
Step 6: Push the output into your channels
The last piece of automation is distribution. Once your masters exist, generating the derived assets should be part of the same workflow rather than a separate project.
From one clean product master you can produce listing images at your platform's required ratio, social crops in vertical and square, ad creatives with the product placed against a branded background and space for a headline, email header images, and slides for a wholesale deck. Each of these is a described variation on an asset you already have.
Practically, this means your marketing does not queue behind a photographer. A new product goes live with a full set of assets on day one instead of day nine.
Where to start this week
Pick your ten best-selling products. Reshoot them in one sitting with a fixed setup and fixed angles. Run one edit recipe across all of them. Compare the new grid to your old one side by side.
If the new version looks more consistent and took less time, you have a working pipeline. Everything after that is repetition, which is exactly the point.