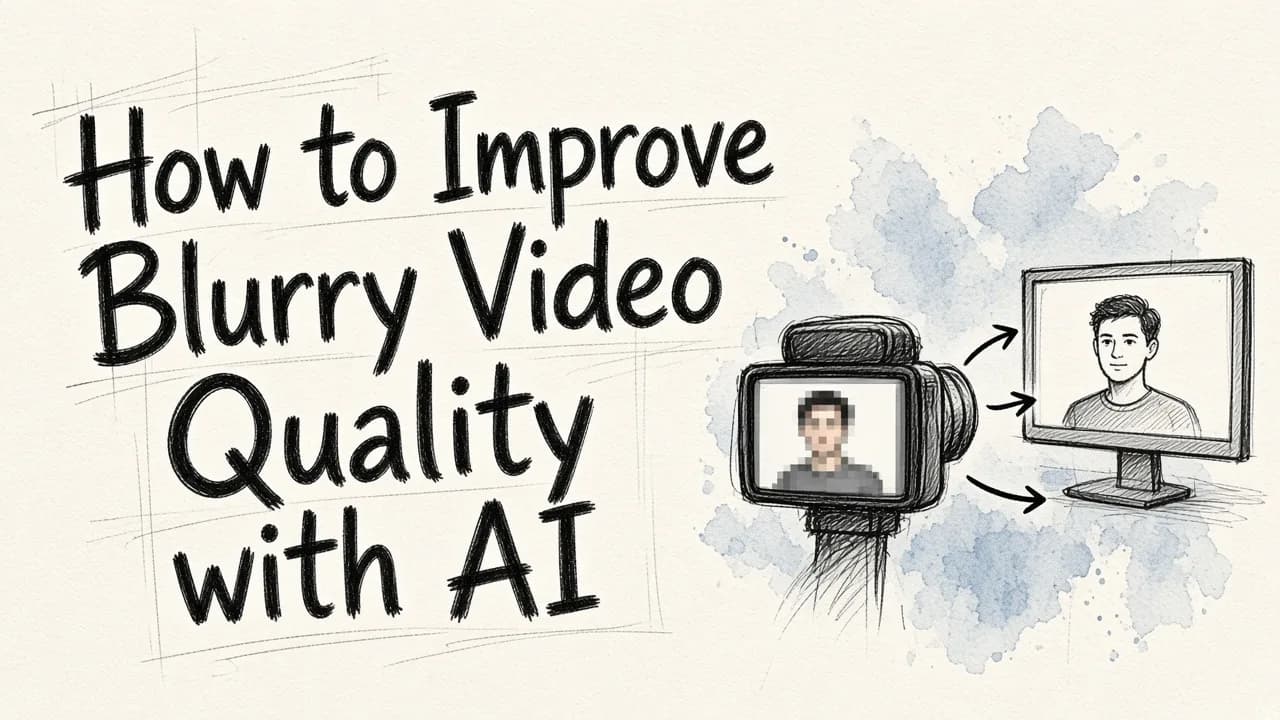
To improve blurry video quality, run the footage through an AI upscaler and sharpening model that rebuilds detail frame by frame rather than just applying a sharpen filter. The fastest route for most people is an AI editing tool like EditorAI, where you describe what you want fixed in plain text and the model handles the enhancement across every frame, so you do not need to learn keyframes, masks, or node graphs to get a usable result. That said, not every blurry video can be saved, and knowing which kind of blur you are dealing with decides whether you spend five minutes or five hours on it.
First, Figure Out Why the Video Is Blurry
Blur is not one problem. It is at least five, and each one responds differently to software.
Low resolution. The video was shot or exported at 480p or 720p and you are viewing it on a 4K screen. There is not enough pixel data, so everything looks soft. This is the single most fixable kind of blur because AI upscaling is genuinely good at inventing plausible detail.
Motion blur. The camera or subject moved while the shutter was open. Each frame is smeared in a direction. Partially fixable, depending on severity.
Out-of-focus blur. The lens focused on the wrong plane. This is the hardest to fix. If the detail never hit the sensor, no model can recover it, though modern tools can hallucinate something convincing at moderate blur levels.
Compression artifacts. The video was uploaded, downloaded, re-uploaded, and squeezed through a platform encoder three times. You see blocking, banding, and mushy texture in dark areas. Very fixable.
Noise mistaken for blur. Low-light footage with heavy grain often reads as "blurry" because the noise destroys fine edges. Denoise first, then judge.
Play the video at 100 percent zoom and pause on a still frame. If edges are soft but consistent across the whole frame, it is resolution or focus. If edges smear in one direction, it is motion. If you see square blocks in gradients, it is compression.
The Practical Fix Order
Running steps out of order makes things worse. Sharpening noisy footage amplifies the noise. Upscaling compressed footage upscales the artifacts. Work in this sequence:
- Denoise. Remove grain and sensor noise while detail is still at its original scale.
- Remove compression artifacts. Clean blocking and banding before you multiply the pixels.
- Upscale. Take the video from 720p to 1080p or 1080p to 4K using an AI model, not a bicubic resize.
- Sharpen selectively. Only after upscaling, and only lightly.
- Correct color and contrast. Soft footage often looks blurrier than it is because contrast is flat. A small contrast lift can do more for perceived sharpness than any filter.
- Export at high bitrate. All that work is wasted if you export at 3 Mbps.
Most people skip straight to step 4, crank a sharpen slider, and end up with crunchy halos around every edge. Resist that.
How AI Upscaling Actually Works
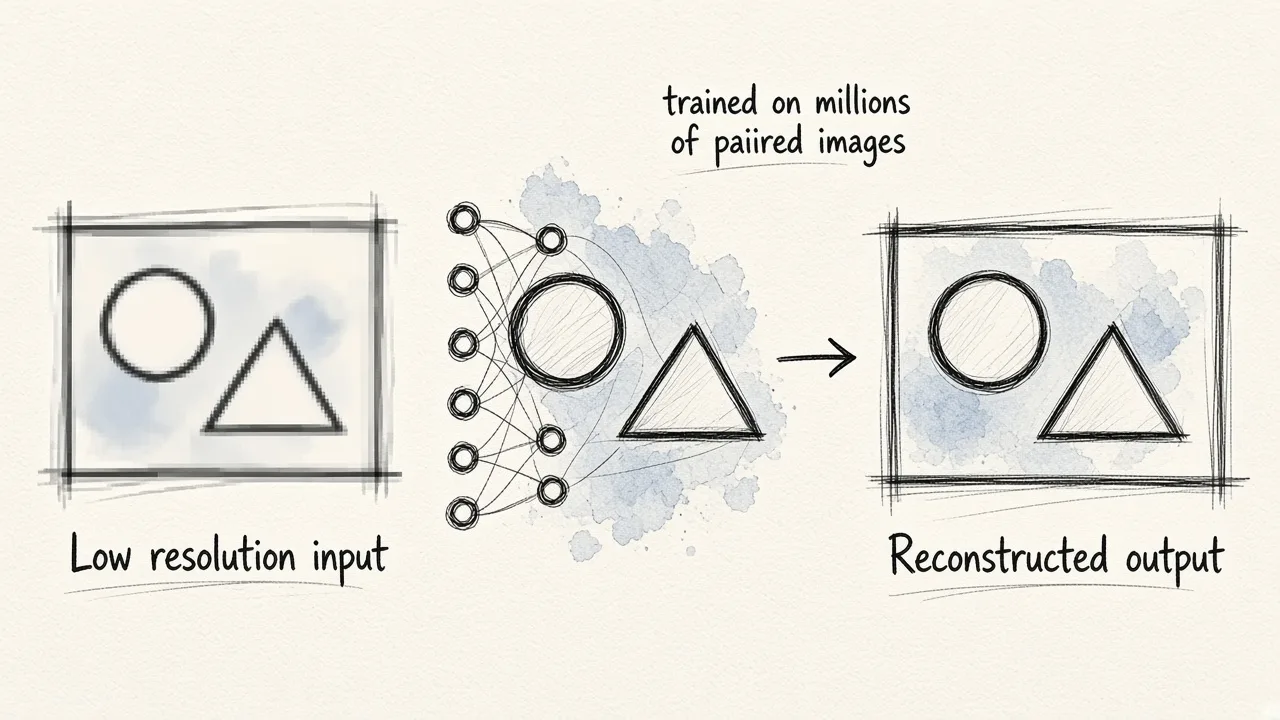
Traditional resizing takes the pixels you have and stretches them. A 720p frame scaled to 1080p just averages neighboring pixels, which is why it stays soft. AI upscaling is different: the model was trained on millions of paired low-resolution and high-resolution images, so it has learned what a sharp eyelash, brick wall, or letterform is supposed to look like when it appears as a blurry smudge. It then reconstructs that detail.
For video, there is an extra requirement. The model has to stay consistent across frames. If it invents slightly different detail on frame 41 than on frame 42, you get shimmering and flicker that looks worse than the original blur. Good video enhancement models use temporal information, looking at neighboring frames to keep the reconstruction stable.
This is the main reason running video through an image upscaler frame by frame usually disappoints. It works on a single still. It flickers on a moving clip.
Tools That Can Fix Blurry Video
Here is an honest comparison of the realistic options, ranked by how well they serve someone who wants a good result without a long learning curve.
| Tool type | Best for | Learning curve | Notes |
|---|---|---|---|
| EditorAI | Fast AI enhancement of clips and marketing footage using text prompts | Very low | Describe the fix in plain language; also handles object removal and asset generation in the same workflow |
| Dedicated AI upscaling apps | Maximum-quality restoration of archival or critical footage | Medium | Slow renders, often per-minute or subscription pricing |
| Professional NLEs (timeline editors) | Full control, grading, and manual detail work | High | Sharpening and denoise tools are good but manual |
| Free open-source command line tools | Technical users who want no cost and full control | High | Requires installing models, handling dependencies, and waiting |
| Built-in phone or social app filters | Quick touch-ups on short vertical clips | None | Usually just sharpen plus contrast; will not recover detail |
If the footage is a one-of-a-kind family archive and you want the absolute best possible restoration, a dedicated upscaler running for hours will edge out everything else. If the footage is a product demo, an ad cut, a testimonial, or social content that needs to look clean and ship today, the AI-editor route wins on time. The same reasoning that applies to whether AI image enhancement is worth it for a business applies to video: the question is not whether a specialist tool can go further, it is whether the extra hours change the business outcome.
Step by Step: Improving a Blurry Clip
Here is the workflow in practice.
Start with the best source file you have. Do not work from the version you downloaded off a messaging app. Go back to the camera roll or the original export. Every re-encode costs you detail that you then pay a model to guess at. This one step often solves half the problem for free.
Trim before you enhance. Enhancement is compute-heavy. If you only need 18 seconds of a 4 minute clip, cut it first. You will cut render time by 90 percent.
Denoise conservatively. Aggressive denoise turns faces into plastic. Apply enough to clear obvious grain, then stop. You want texture to survive.
Upscale by 2x, not 4x. Going from 1080p to 4K in one jump tends to produce a synthetic look. Two passes of 2x, or a single 2x, usually holds up better on real footage. Also, ask yourself whether you need 4K at all. A 1080p video that is genuinely sharp beats a 4K video that is upscaled mush.
Check faces at 100 percent. Faces are where AI enhancement fails most visibly. Eyes go glassy, skin goes waxy, teeth blur into a single white shape. If the model is overcooking faces, dial back the enhancement strength. When you need controlled skin work rather than whole-frame enhancement, dedicated skin smoothing tools give you finer control than a global sharpen pass.
Add a touch of grain back. Counterintuitive, but a light grain layer masks the artificial smoothness of AI output and makes footage read as "filmed" rather than "processed." Two to four percent is plenty.
Export at a high bitrate. For 1080p, target 12 to 20 Mbps. For 4K, 40 Mbps or more. Use H.264 for compatibility or H.265 for smaller files. If you are uploading to a platform that re-encodes, upload the highest quality file you can, because the platform encoder will take a bite regardless.
When You Should Stop and Reshoot
There is a threshold past which enhancement is a bad use of time.
If the subject's face is unrecognizable, if text in the frame is illegible, or if the footage is below roughly 360p, AI will produce something that looks processed rather than something that looks good. It will invent detail that was never there, and viewers register that as uncanny even when they cannot name why.
For business content specifically, reshooting a 30 second clip on a recent phone in decent daylight costs less than an hour and produces a better master than any amount of restoration. Enhancement is for footage you cannot recapture: a live event, a customer testimonial, a moment that happened once.
Preventing Blur Next Time
The cheapest fix is not needing one.
Lock focus before recording instead of letting autofocus hunt. Shoot in the brightest light available, because noise and blur both come from the camera compensating for darkness. Keep the shutter speed at roughly double the frame rate to get natural motion blur rather than smear. Stabilize the camera on anything solid. Record at the highest resolution your device supports, then downscale in the edit, which is always cleaner than upscaling later. And avoid sending footage through chat apps, which compress aggressively by default.
Do those six things and most blur problems never start. For everything else, AI enhancement is now good enough that a soft clip is usually a recoverable clip rather than a lost one.