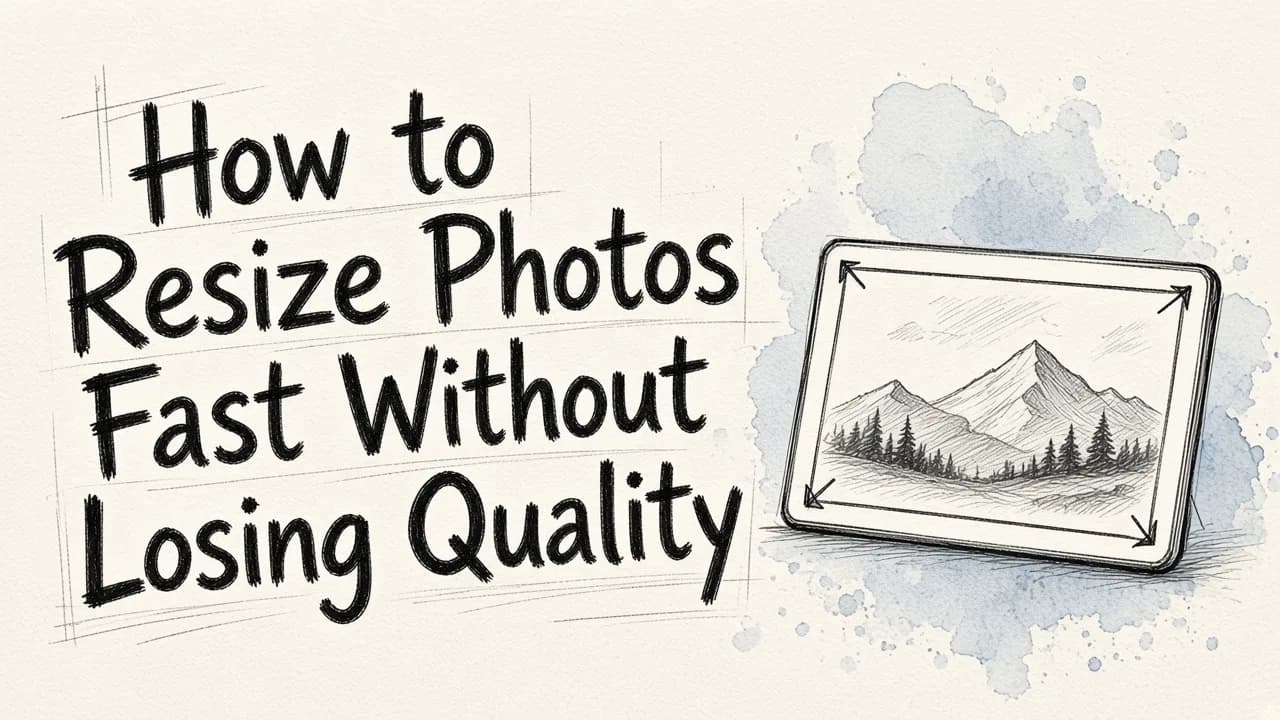
Resizing a photo fast comes down to three steps: pick the exact pixel dimensions you need, resize from the original file (never from an already-shrunk copy), and export in a format that suits the image type. For most people the quickest route is a browser-based tool like EditorAI's image resizer, because it opens in a tab, keeps the aspect ratio locked by default, and hands back a full-resolution file in seconds without installing software or creating a project file. A single image takes under a minute. A folder of fifty product shots takes a few minutes if you resize them in one batch instead of one at a time.
That is the short answer. The rest of this guide covers the parts that actually decide whether your resized photo looks sharp or mushy.
Why resized photos lose quality in the first place
Quality loss almost never comes from the act of resizing itself. It comes from four specific mistakes.
Upscaling past the original resolution. If your source file is 800 pixels wide and you stretch it to 2000, the software has to invent 1200 pixels of information that was never captured. Traditional resizing fills those gaps by averaging neighbouring pixels, which reads as soft and blurry. AI upscaling does a better job because it reconstructs plausible detail rather than smearing, but the safest habit is still to start from the largest original you have.
Resizing a copy of a copy. Every time an image is saved as a JPEG it is recompressed, and compression artifacts stack. Resize the RAW file or the original export, not the version somebody emailed you that had already been resized twice.
Confusing resizing with compressing. Resizing changes pixel dimensions. Compressing changes file size by discarding image data at the same dimensions. Crushing a JPEG to 20 percent quality will wreck an image far faster than halving its width will.
Ignoring aspect ratio. Forcing a 4:3 photo into a 1:1 frame by dragging one edge squashes everything in it. If you need a different shape, crop first, then resize the cropped result.
The fast method, step by step
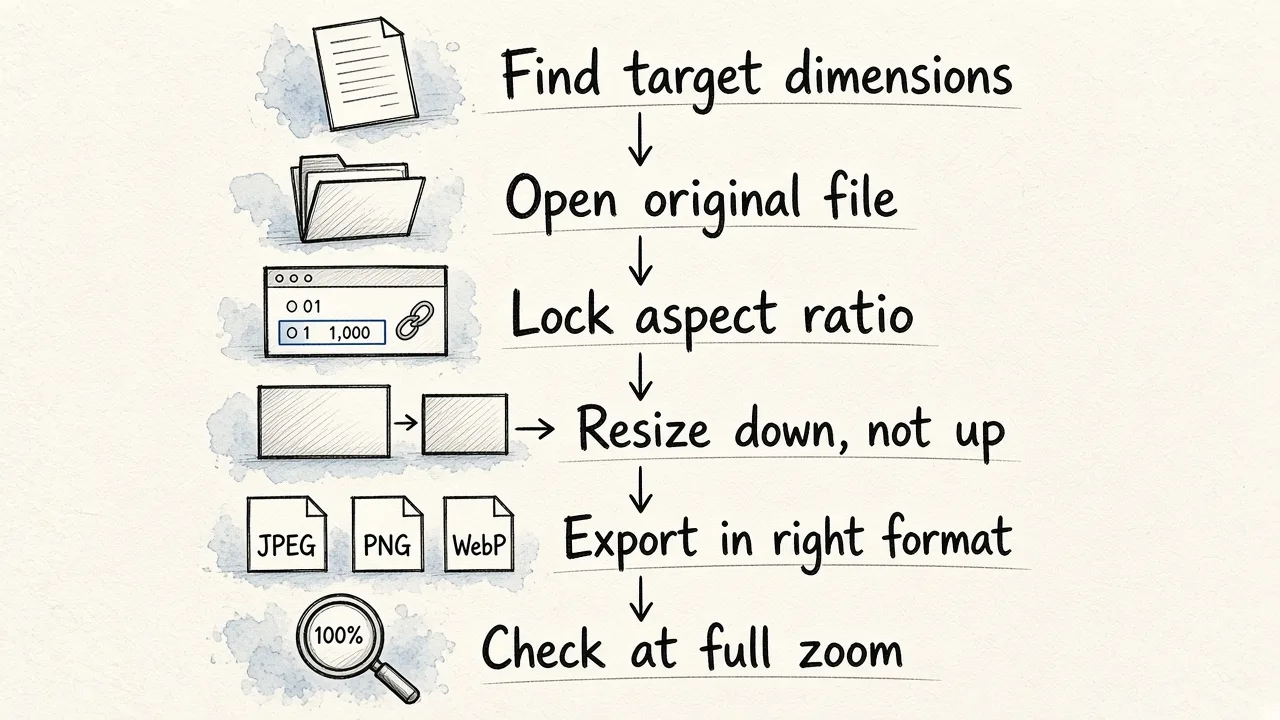
- Find the target dimensions before you open anything. Guessing costs more time than looking it up. If you are uploading to a store, a job board, or an ad platform, the required size is published.
- Open the original file in your resizer. Highest resolution version available, ideally untouched.
- Lock the aspect ratio and enter one dimension. Width for horizontal layouts, height for vertical. The other value fills itself in.
- Resize down, not up, when you can. Downscaling is essentially lossless to the eye. Upscaling is where the risk lives.
- Export in the right format. JPEG for photographs, PNG when you need transparency, WebP when page speed matters and your platform supports it.
- Check it at 100 percent zoom once. Not at thumbnail size. Ten seconds of checking catches problems that would otherwise reach a customer.
That workflow takes well under a minute per image once you have done it twice.
Common sizes worth memorising
| Use case | Typical dimensions | Notes |
|---|---|---|
| Ecommerce product listing | 2000 x 2000 px, square | Big enough to support zoom on desktop |
| Website hero banner | 1920 x 1080 px | Compress hard after resizing, it is a large file |
| Blog inline image | 1200 px wide | Height varies with the crop |
| Social square post | 1080 x 1080 px | Safest universal social size |
| Vertical story or reel cover | 1080 x 1920 px | 9:16 |
| Email header | 600 px wide | Many clients cap display width here |
| Profile photo or headshot | 400 x 400 px minimum | Upload larger, let the platform downscale |
Save this as a note. Most of the time lost in resizing is time spent hunting for the right number.
Batch resizing: where the real time savings are
Resizing one photo fast is easy. Resizing two hundred fast is a different problem, and it is the one most businesses actually have.
The rule is simple: never process images individually when they share a target size. Group them by destination first. All product listing images go in one pile at 2000 x 2000. All social crops go in another at 1080 x 1080. Then run each pile through in a single pass.
If your images also need the same treatment beyond resizing, such as a white background or a consistent crop, fold that into the same pass rather than doing three rounds of edits. This is how catalogue work scales, and it is the core idea behind automating product photo editing for a Shopify store: define the rules once, apply them to the whole folder, then spot-check the output instead of touching every file.
One caution with batches. If your source images have mixed aspect ratios, a single batch resize will either letterbox them or crop them inconsistently. Sort by orientation first, or use a tool that pads to a square canvas with a matching background colour.
Choosing a tool honestly
There is no single best option, only a best option for your situation.
| Tool type | Best for | Trade-off |
|---|---|---|
| EditorAI | Fast browser resizing plus edits in one place, batches, non-technical teams | Needs an internet connection |
| Built-in OS tools (Preview, Photos) | One-off resizes when you are already on your desktop | No batching worth the name, limited export control |
| Professional desktop editors | Pixel-level control, print work, complex retouching | Expensive, slow to open, overkill for a resize |
| Command line tools | Thousands of files, automated pipelines, developers | Requires comfort with a terminal |
| Generic online resizers | A single quick resize with nothing else needed | Usually resize only, quality and file handling vary |
EditorAI sits well here specifically when resizing is not the only thing you need. If the same photo also needs its background cleaned up, a stray object removed, or a version reshaped for an ad, doing all of that in one place beats exporting between three tools. If you truly only ever need to change pixel dimensions and nothing else, a plain resizer or your operating system will serve you fine.
Format choices that protect quality
JPEG is the default for photographs. Export at 80 to 90 percent quality. Below 70 the artifacts around edges and in gradients become visible on a good screen.
PNG is for graphics, screenshots, logos, and anything with transparency. It is lossless, so it does not degrade, but photographic PNGs are enormous. Do not use it for a product photo unless you need the transparent background.
WebP typically delivers similar visual quality at a smaller file size than JPEG, which is why it has become common on the web. Check that every platform you publish to accepts it before standardising on it.
One more note on print. Pixel dimensions are what matter for screens. For print you also care about DPI, and the practical rule is 300 DPI at the final printed size. A 4 by 6 inch print needs roughly 1200 x 1800 pixels. Changing the DPI field alone without changing pixel dimensions does nothing to the image data.
Mistakes that quietly cost you
- Resizing after adding text. Text rendered at one size and then scaled looks soft. Resize the image first, add text last.
- Uploading oversized images and letting the platform handle it. Platforms downscale with generic settings and often compress hard. Control the output yourself.
- Keeping only the resized version. Always archive the original. A 1080 px file cannot be rebuilt into a 2000 px one without quality loss.
- Using the wrong source for a hero image. Small source, big placement, blurry result. This is the single most common cause of an amateur-looking page.
- Inconsistent sizing across a catalogue. Products photographed and sized inconsistently look disorganised in a grid, which is exactly why studio-quality product shots depend on a repeatable setup as much as a good camera.
A workable routine
Decide your standard sizes once and write them down. Keep originals in an untouched folder. Resize in batches grouped by destination. Export JPEG at 85 percent for photos, PNG for transparency, WebP where it is supported. Check one file per batch at full zoom before publishing.
Do that and resizing stops being a task you dread and becomes something that happens in the background of real work. The speed comes from the system, not from the software.