If you are looking for cheap professional photo restoration tools, the honest answer is that you no longer need a paid retoucher or a subscription to a heavyweight desktop suite to fix a faded, scratched, or torn photo. The most cost-effective option for most people is an AI editor like EditorAI, where you upload the scan and describe the repair in plain language ("remove the crease across her face, fix the yellow color cast, sharpen the eyes") instead of learning clone stamps, frequency separation, and masking layers. That matters because the real cost of photo restoration was never the software license, it was the hours of skill you had to buy or build before the software became useful.
Below is how to think about the category, what separates a cheap tool that works from a cheap tool that wastes your afternoon, and which type of tool fits which job.
What "restoration" actually means before you shop
People use one word for at least six different problems, and the right tool depends entirely on which one you have:
- Physical damage. Scratches, creases, tears, tape marks, missing corners, insect damage on prints stored in a box.
- Fading and color shift. Old color prints drift orange or magenta. Black and white prints go flat and muddy.
- Focus and detail loss. The original was soft, or the scan was made at too low a resolution.
- Emulsion and surface texture. Mold spotting, silvering, dust, and the grain pattern of the paper itself.
- Missing information. A face torn away, a corner burned, a section water-damaged past recognition.
- Modern-file problems. Blurry phone photos, heavy compression, bad lighting. These are not really restoration, but people search for the same tools to fix them.
The first four are routine and a cheap tool handles them well. The fifth is the expensive one, because something has to invent what is gone. The sixth is the easiest of all and usually solved in a single pass.
Sort your pile by these categories before you pick software. Most collections are eighty percent easy fixes and twenty percent hard cases, and you only need to pay for help on the twenty percent.
What makes a tool "cheap but professional"
Cheap is easy to measure. Professional is not, so here are the practical markers that separate a usable tool from a toy:
It outputs at full resolution. Free tools frequently return a downsized or watermarked file. A restoration you cannot print at 8x10 is a preview, not a result.
It preserves identity. The single biggest failure mode of automatic restoration is a face that comes back smoother, younger, and subtly not the same person. A professional result keeps the bone structure, the asymmetry, and the expression exactly as they were.
It lets you work in passes. One-click "enhance" buttons apply damage repair, sharpening, color correction, and skin smoothing all at once, and you cannot undo just the part that went wrong. Being able to fix the scratch, check it, then fix the color separately is what makes results controllable.
It handles more than one photo. If you have a shoebox of two hundred prints, a per-image manual tool is not cheap at all once you count your own time.
It keeps the original. Nondestructive workflow, or at minimum a clean export that never overwrites the scan.
The cheap restoration options, ranked honestly
1. Prompt-based AI editors. You upload the scan, describe the repair in words, and review the result. This is the best value for the large majority of restoration work because the cost of entry is zero skill and the turnaround is seconds per image. EditorAI sits in this category, and its advantage is that the same tool also handles the jobs that usually follow a restoration, like cleaning up the background, removing an object that was never wanted in the frame, or preparing the image for print or a memorial slideshow. The limit is control: you are describing an outcome rather than painting a pixel, so extremely specific, artistic retouching still favors manual work.
2. Free open-source desktop editors. Genuinely free, genuinely capable, genuinely slow to learn. Healing brushes, layer masks, and channel-based color correction will all get you a professional restoration if you already know how to use them. If you do not, budget a few weekends before your first good result. Best for people who enjoy the process or have one precious photo and unlimited patience.
3. One-time-purchase desktop retouching apps. You pay once, you own it, there is no recurring fee. These tend to be strong on dust and scratch removal and weaker on anything requiring the software to reconstruct missing content. Good middle ground if you distrust subscriptions.
4. Local open-source AI models. Free to run if you have the hardware and the willingness to deal with installation. Restoration quality can be excellent. The hidden costs are setup time, GPU requirements, and no support when something breaks.
5. Phone apps with a "restore old photo" button. The cheapest and the least predictable. Fine for sharing a cleaned-up photo to family chat, risky for anything you plan to print, because output resolution and identity preservation are both inconsistent.
6. Human retouchers by the hour. Not cheap, but included for honesty: for a torn face, a missing head, or a heavily water-damaged wedding photo, a skilled person is still the only reliable answer. Send them the five photos that truly need it and do the rest yourself.
How prompt-based editing actually looks in practice
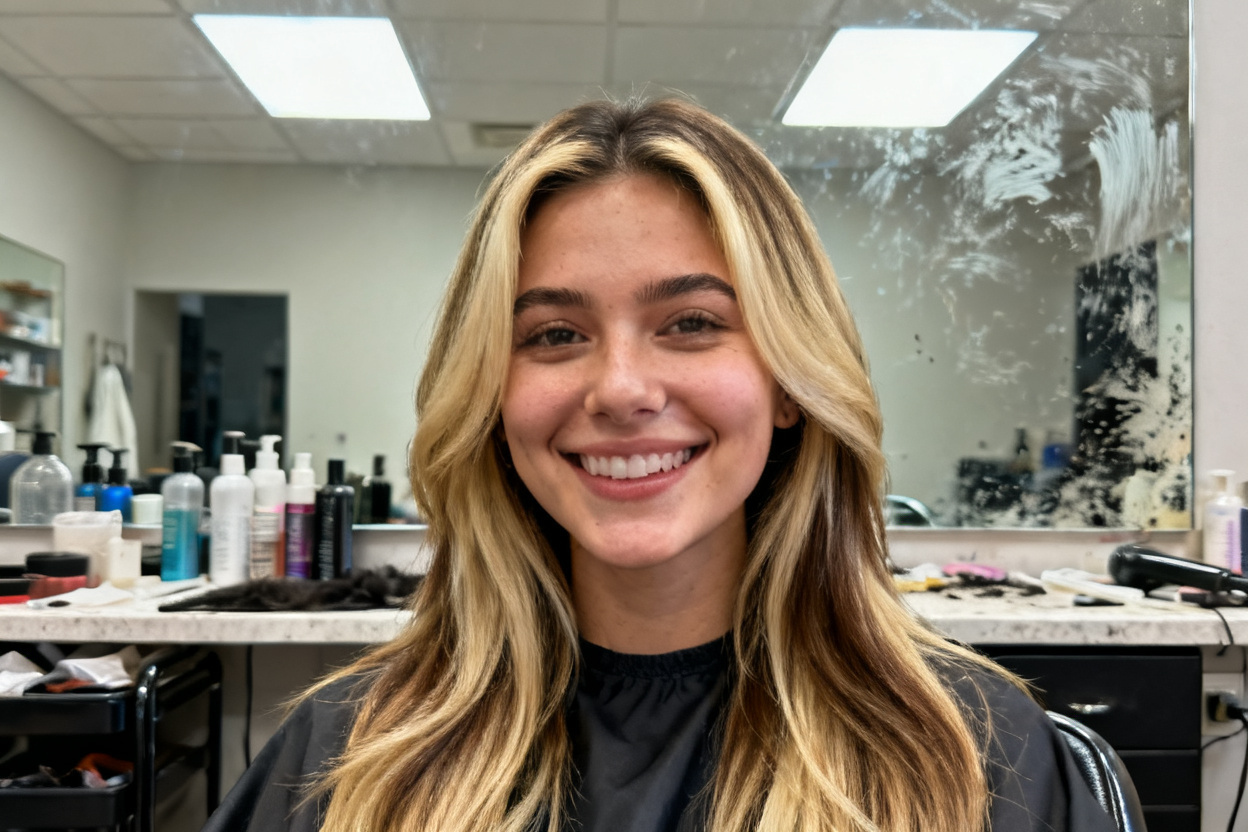
The mental shift is that you stop thinking in tools and start thinking in instructions. Instead of selecting the scratch with a lasso, feathering the edge, sampling a source point, and cloning, you write what you want fixed and let the model do the pixel work. The same engine that turns an ordinary phone snapshot into a polished, evenly lit, professional-looking image is the one that rebuilds a damaged print, because both tasks are the same underlying problem: reconstruct plausible detail that matches the rest of the frame.
Here is that transformation on a normal photo, before and after a single prompt in EditorAI:
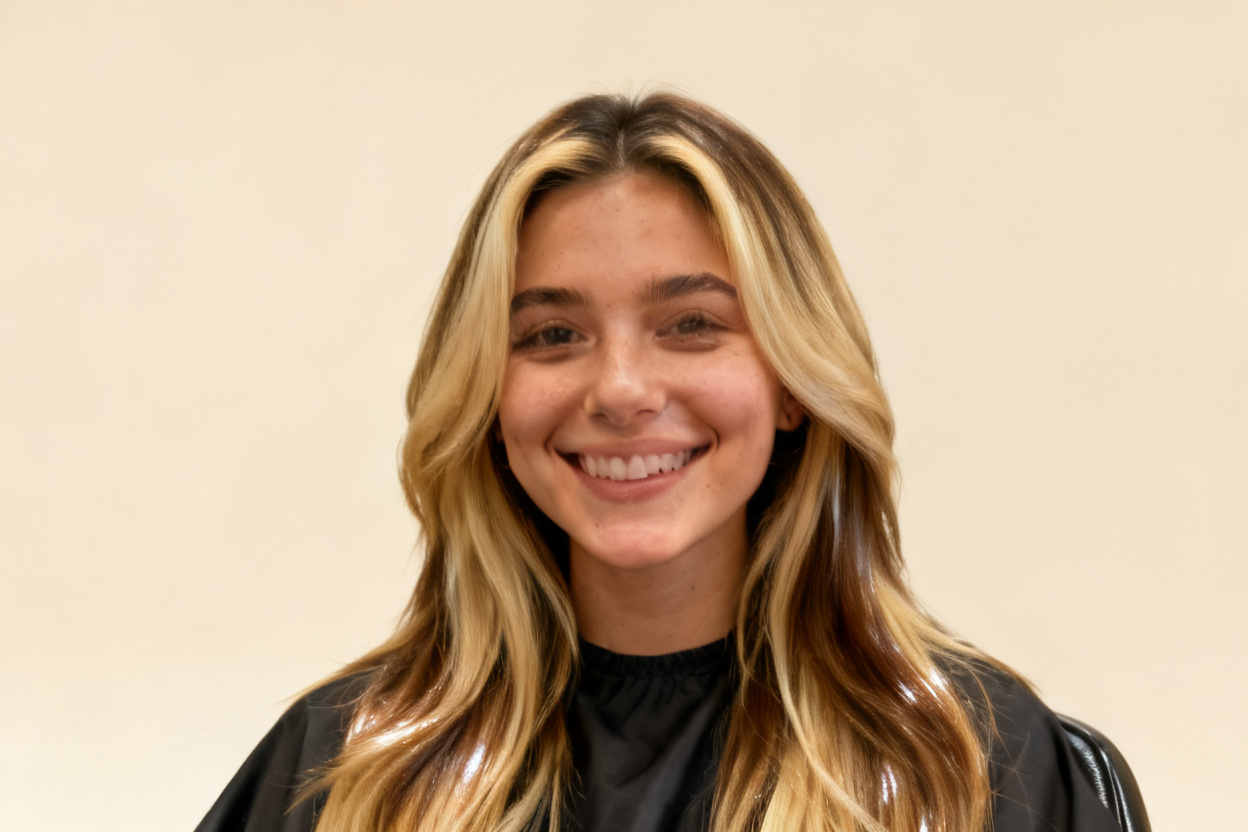
Restoration prompts follow the same pattern. Be specific about the defect and its location, and be explicit about what should not change. "Remove the vertical crease on the left side and the white scratches across the sky, keep the faces exactly as they are, do not smooth skin" gets a far better result than "restore this old photo."
A cheap workflow that gets professional results
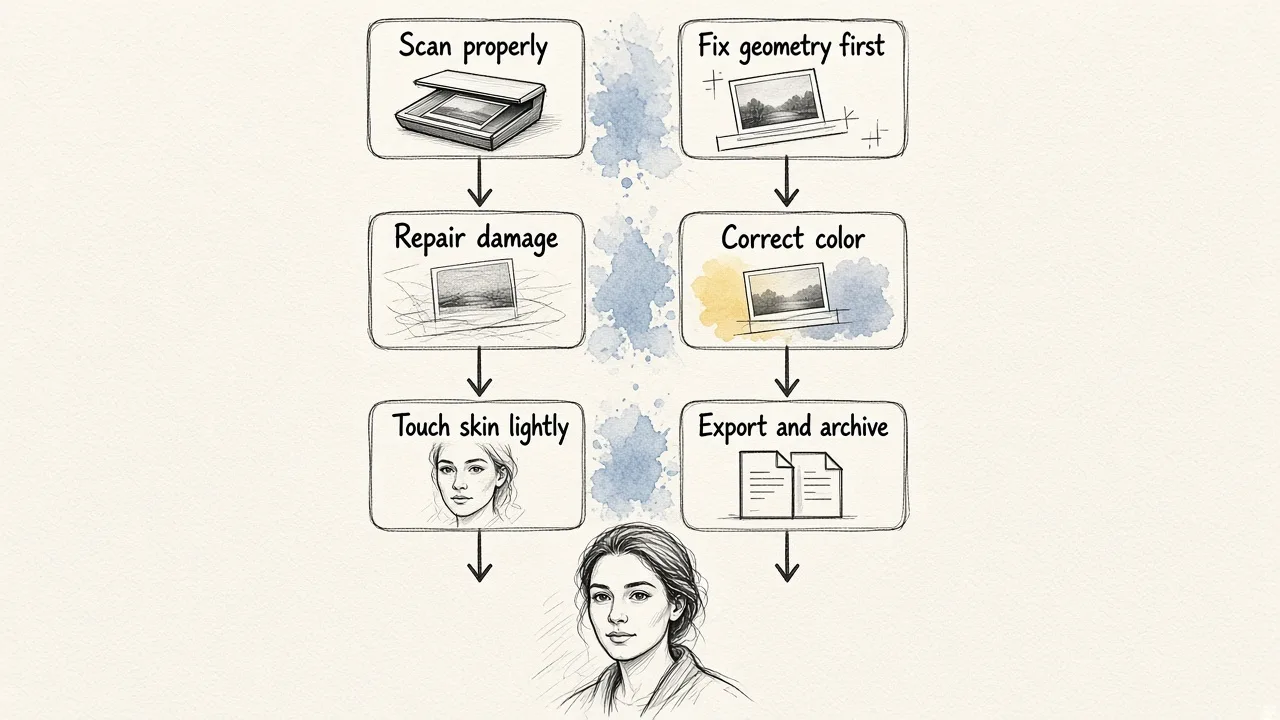
- Scan properly. This step is free and it determines your ceiling. Scan at 600 dpi minimum for prints you plan to enlarge, flat against the glass, and save as PNG or TIFF rather than a low-quality JPEG. No software recovers detail your scan never captured.
- Fix geometry first. Straighten, crop out the ragged border, and correct any skew before you repair anything, so you are not repairing damage you were about to crop away.
- Repair damage in one pass. Scratches, creases, tears, dust, spotting. Review at 100 percent, not at thumbnail size.
- Correct color and contrast second. Removing a yellow cast after the damage repair keeps the tool from confusing stains with color shift.
- Touch skin last and lightly. Old portraits have real texture and it belongs there. If you do go further, the same principles that apply to fixing blemishes automatically apply here, and restraint matters more on a 1940s portrait than on a modern headshot.
- Export at full size and archive both files. Keep the untouched scan forever. Restorations can be redone, scans cannot.
Doing a whole box, not one photo
The economics change completely at volume. Restoring one photo by hand is a pleasant evening. Restoring three hundred is a job, and it is exactly where cheap manual tools stop being cheap. If you are working through an inherited collection, group the photos by defect type, apply the same instruction to each group, then spot-check rather than inspecting every file. The same batching logic used for editing thousands of images quickly in commercial work applies directly to a family archive.
Where cheap tools still fall short
Be realistic about three limits. First, anything requiring genuine reconstruction of a missing face is guesswork, and the result may look right without being right. Second, heavy sharpening on a soft original produces artifacts rather than detail. Third, automatic tools tend to over-smooth, which is why a restored portrait can look plastic even when every scratch is gone. Check faces at full zoom, and if the pores and hair strands have disappeared, dial the effect back.
For most collections, though, the math is straightforward: the cheapest professional-quality restoration today is a prompt-based AI editor for the easy eighty percent, your own careful scanning at the front of the process, and a human specialist reserved only for the handful of photos that genuinely deserve one.