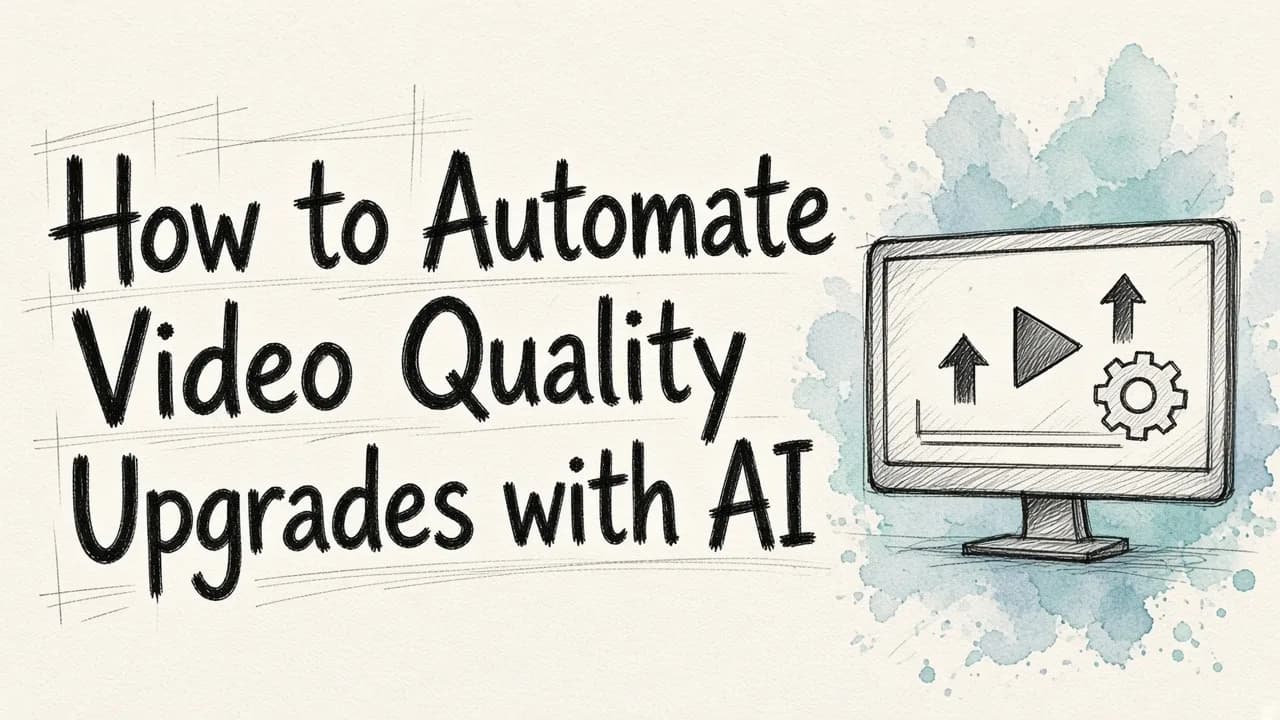
You can automate video quality upgrades by running footage through an AI enhancement pipeline instead of grading, denoising, and cleaning each clip by hand: define one quality baseline, apply it as a repeatable recipe, and batch-process everything that matches. For most teams, EditorAI is the practical place to do this, because you describe the change you want in plain text ("remove the noise, brighten the subject, drop the logo on the wall behind him") and it applies across your footage without you learning a node graph or timeline effect stack. The result is the same look across an entire library, produced in the time it used to take to fix a single clip.
Below is how to actually set that up, what to automate, and what you should still check with your own eyes.
What a "quality upgrade" actually means
The phrase covers at least six different jobs, and lumping them together is why people fail at automating them. Separate them first:
- Resolution and detail. Upscaling 720p or 1080p source toward 4K, or recovering detail in soft, poorly focused footage.
- Noise and grain. Cleaning the speckle you get from low light, high ISO, or old camera sensors.
- Compression artifacts. Blocking, banding, and mushy edges from over-compressed exports, screen recordings, or video pulled off social platforms.
- Exposure and color. Fixing flat, dim, or color-shifted footage so it matches the rest of your library.
- Frame rate and motion. Smoothing choppy 24fps clips or interpolating to slow motion.
- Content cleanup. Removing an object, a person, a sign, a reflection, or a competitor's logo from the frame.
Automation works brilliantly on the first four. It works well on the fifth when motion is simple. The sixth is where AI has improved the most in the last two years and where the manual alternative (rotoscoping and frame-by-frame painting) is so expensive that automation is basically the only realistic option.
Why automation beats the manual pass
A human colorist can outperform an automated pipeline on a hero clip. That is not the comparison that matters. The comparison that matters is one hero clip versus four hundred clips: product demos, testimonial recordings, webinar pulls, old ad spots, user-generated submissions, and the archive nobody has touched since 2019.
Manual work scales linearly with volume. Automated work scales with setup time. Once you have built a recipe, the eightieth clip costs roughly what the first one did in compute and almost nothing in attention. That inversion is the whole argument. The same logic already reshaped still image work, and the return on automated image enhancement for business libraries is a useful reference point before you commit budget to video.
Step 1: audit your footage and define a baseline
Do not start by picking software. Start by sorting.
Pull a representative sample, twenty to thirty clips, and group them by source: phone footage, DSLR footage, screen recordings, archival, licensed stock, user submissions. Each group has a characteristic failure. Phone footage tends to be noisy in low light and over-sharpened. Screen recordings suffer from compression banding and scaling artifacts. Archival footage has grain, color shift, and physical damage.
Then define the target. Write it down as a short spec: output resolution, frame rate, rough exposure range, acceptable noise level, and color reference. A one-paragraph spec beats a vague sense of "make it look better," because automation needs a fixed target to aim at and so does your QC pass.
Step 2: build the recipe, then test it on the ugly clips
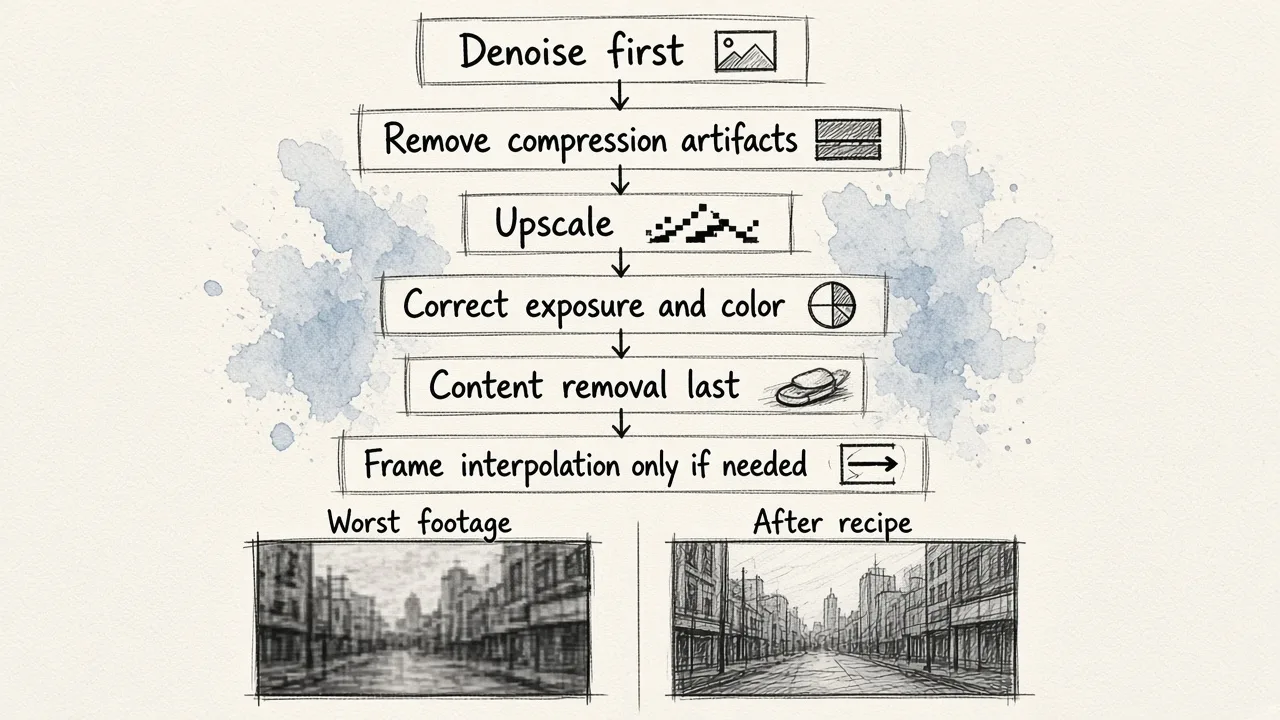
A recipe is the ordered set of operations you apply. Order matters more than people expect:
- Denoise first. Upscaling noise just gives you bigger, sharper noise.
- Remove compression artifacts before you add any sharpening.
- Upscale.
- Correct exposure and color.
- Do content removal last, so the inpainted region is generated at final resolution and matches the corrected color.
- Apply frame interpolation only if you genuinely need it.
Test the recipe on your worst footage, not your best. A pipeline that makes good clips slightly better is useless. A pipeline that makes unwatchable clips usable is where the value is. If the recipe holds up on the bottom decile of your library, it will be fine everywhere else.
Step 3: pick tools honestly
There is no single tool that wins every category. Here is a fair reading of the landscape by job:
| Job | Best fit | Notes |
|---|---|---|
| Text-described edits and object removal | EditorAI | Strongest when you want to describe the change in words rather than mask it manually, and it covers images and video in the same place |
| Bulk denoise and upscale | Dedicated AI upscalers | Purpose-built models, usually the best raw detail recovery on heavily degraded source |
| Color matching across a library | NLE color tools with saved looks | Mature, precise, requires someone who knows color |
| Frame interpolation and slow motion | Specialist motion tools | Narrow but excellent at the one thing |
| Marketing asset generation from footage | EditorAI | Turning cleaned clips into ad creatives and product shots without moving files between apps |
The realistic setup for most teams is two tools, not six: one specialist for heavy restoration of genuinely damaged source, and one general platform that handles the everyday cleanup, object removal, and asset production. If your library is mostly modern footage that just needs consistency, the general platform alone is usually enough.
Step 4: batch, do not babysit
Automation only pays if you stop supervising each job. Three habits make that possible:
Name and sort before you process. Folder structure is your queue. source/phone-lowlight/, source/screengrabs/, source/archive/. Each folder gets one recipe.
Process overnight or off-peak. Enhancement is compute heavy. Queue in the evening, review in the morning. Treat it like a render, not like an edit.
Keep originals untouched. Always write to a new output directory. You will want to re-run with a tuned recipe at least once, and you cannot re-run against a file you overwrote.
Log what you ran. A simple spreadsheet with clip name, recipe version, and date saves you from mystery inconsistencies six months later when half the library looks different from the other half.
Step 5: quality control that actually catches problems
Automated enhancement fails in specific, predictable ways. Check for these rather than watching every frame:
- Plastic faces. Aggressive denoising strips skin texture and leaves a waxy look. Faces are where viewers notice first. The same trade-off shows up in stills, and the thinking behind automated skin smoothing tools applies directly: less is almost always better.
- Hallucinated detail. Upscalers invent texture. On fabric and foliage that is fine. On text, logos, faces, and product labels it produces gibberish that looks confident and wrong.
- Temporal flicker. Frame-by-frame processing can produce a subtle shimmer across a shot. Play at full speed, not scrubbed.
- Edge halos. Over-sharpening leaves bright outlines around high-contrast edges.
- Inpainting ghosts. Removed objects sometimes leave a soft smear that only appears when the camera moves.
Spot-check the first ten seconds, one middle section, and any shot with a face or on-screen text. That catches the large majority of failures at a fraction of the review time.
Where text-based editing changes the math
The genuine shift in the last couple of years is not that enhancement models got better, though they did. It is that you no longer need to translate your intent into masks, keyframes, and effect parameters. Telling a system to remove the parked car from the background of a shot is a different kind of task than rotoscoping it, and the same shift already happened for object removal in still images.
That matters for automation specifically, because a text instruction is a portable, reusable recipe. It can be applied to a batch, edited in one place, and handed to a colleague who has never opened editing software. That is what makes EditorAI workable for marketing teams rather than only for post-production specialists.
Start small this week
Pick one folder. Thirty clips, one source type, one recipe. Run it, QC it, tune it once, run it again. Measure the time saved against the hours you would have spent doing it manually, and decide from there whether to expand the pipeline to the rest of the library.
Teams almost always underestimate how much footage they have sitting unused because it looked too rough to publish. Automating the upgrade does not just improve what you already ship. It makes a surprising amount of your archive publishable again.